在網頁開發中,圖片壓縮是一項常見且重要的技術需求。隨著高解析度圖片與多媒體內容日益普及,在維持圖片品質的同時降低檔案大小,對於提升頁面載入效率與改善使用者體驗至關重要。作為使用者與伺服器之間的中介,前端可以實作圖片壓縮,有效降低伺服器負載並加快頁面呈現速度。本文將系統性探討在前端實作圖片壓縮的各種技術方法與實用解決方案。
使用 HTML5 Canvas 實作圖片壓縮
HTML5 的 <canvas> 元素賦予前端強大的圖片處理能力。透過 JavaScript 操作 <canvas>,開發者可以載入圖片資料,執行縮放、裁切與格式轉換等操作,並產生壓縮後的圖片。
操作流程
- 載入圖片:使用 FileReader 或 Image 物件載入圖片。
- 繪製至
<canvas>:將圖片繪製到<canvas>上,並透過調整尺寸或繪圖參數控制壓縮效果。 - 匯出圖片:使用
canvas.toDataURL()將內容轉換為 Base64 編碼的圖片,或使用canvas.toBlob()取得 Blob 物件,以便進一步處理或上傳。
以下是一個示範如何使用 <canvas> 進行圖片壓縮的簡單範例:
/**
 * Compress an image using Canvas
 * @param {File|Blob} file - The original image file
 * @param {Object} options - Compression options
 * @param {number} [options.quality=0.7] - Image quality, range 0-1
 * @param {number} [options.maxWidth=1000] - Maximum width
 * @param {number} [options.maxHeight=1000] - Maximum height
 * @returns {Promise<Blob>} - The compressed image Blob
 */
function compressImage(file, options = {}) {
  return new Promise((resolve, reject) => {
    // Set default options
    const {
      quality = 0.7,
      maxWidth = 1000,
      maxHeight = 1000
    } = options;

    // Validate image file
    if (!file.type.startsWith('image/')) {
      reject(new Error('File is not a valid image'));
      return;
    }

    // Create image object
    const img = new Image();
    const reader = new FileReader();

    reader.onload = function(e) {
      img.src = e.target.result;
    };

    reader.onerror = () => reject(new Error('Failed to read file'));
    reader.readAsDataURL(file);

    img.onload = function() {
      // Calculate resized dimensions
      let width = img.width;
      let height = img.height;

      if (width > maxWidth) {
        height = height * (maxWidth / width);
        width = maxWidth;
      }

      if (height > maxHeight) {
        width = width * (maxHeight / height);
        height = maxHeight;
      }

      // Create canvas and draw image
      const canvas = document.createElement('canvas');
      const ctx = canvas.getContext('2d');
      canvas.width = width;
      canvas.height = height;

      // Draw image to canvas
      ctx.drawImage(img, 0, 0, width, height);

      // Determine image type
      const type = file.type === 'image/jpeg' ? 'image/jpeg' : 'image/png';

      // Convert canvas content to Blob
      canvas.toBlob(
        blob => resolve(blob),
        type,
        quality
      );
    };

    img.onerror = () => reject(new Error('Failed to load image'));
  });
}
使用第三方函式庫
除了原生 JavaScript 與 HTML5 Canvas 之外,開發者也可以使用第三方函式庫來簡化圖片壓縮流程,並取得更優異的效果。ImageMagick 的 Node.js adapter、CompressorJS 與 Pica 等函式庫提供進階設定選項(例如更精細的圖片處理參數)以及更佳的跨平台相容性,能滿足更複雜的應用情境。
線上工具
目前有許多免費的線上圖片壓縮工具,例如 TinyPNG、Imgur 與 ZipPic。這些工具提供便利的壓縮服務,使用者只需上傳圖片,即可輕鬆取得壓縮後的版本。
以下以 ZipPic 的線上圖片壓縮功能為例:
- 前往 ZipPic。
- 點擊圖片選取區域,或將圖片拖放至指定區域。
- 選擇壓縮格式,並調整所需的壓縮品質。
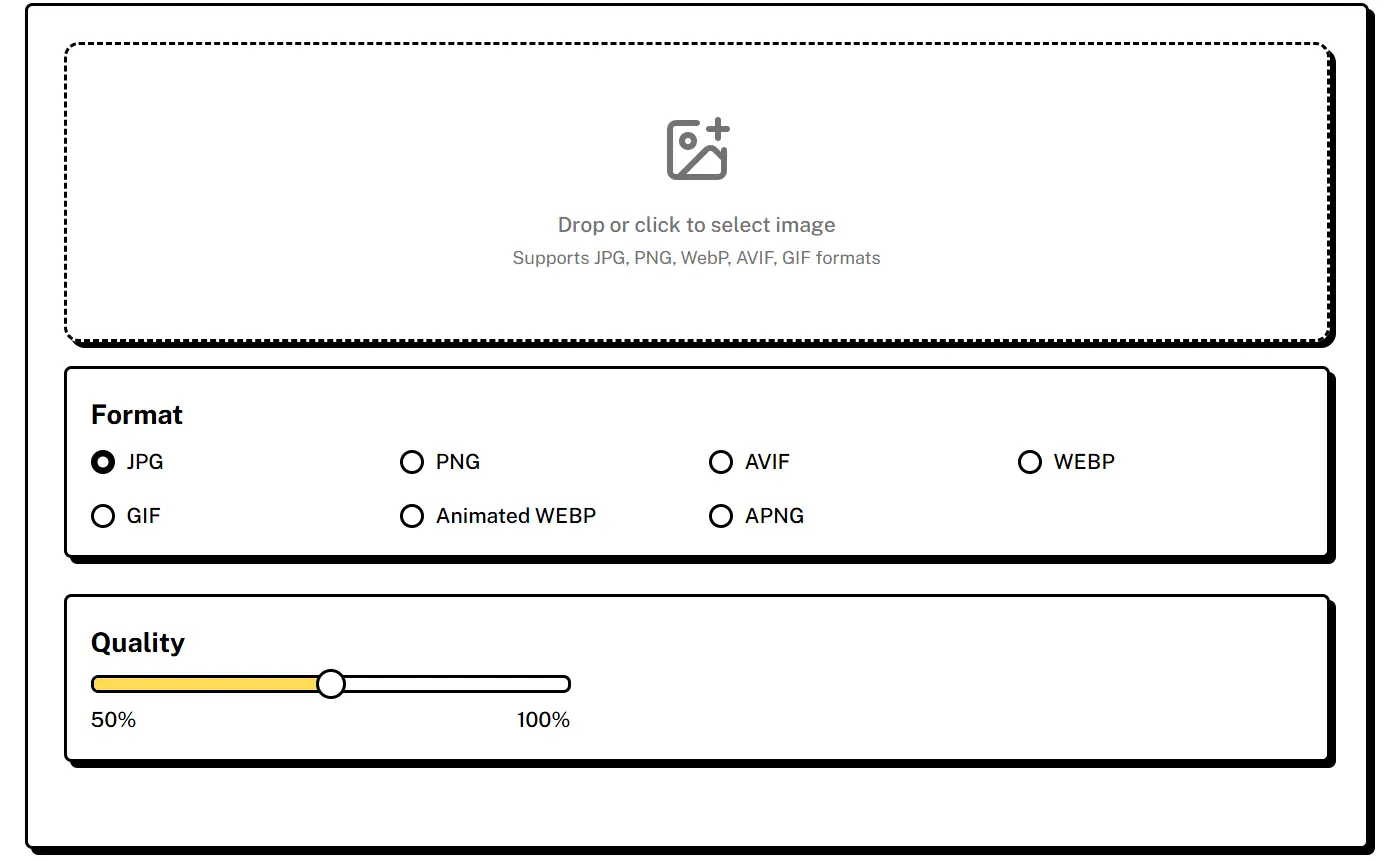 ZipPic 會自動處理圖片,將其壓縮為指定的格式與大小,完成後即可下載。整個流程非常有效率。
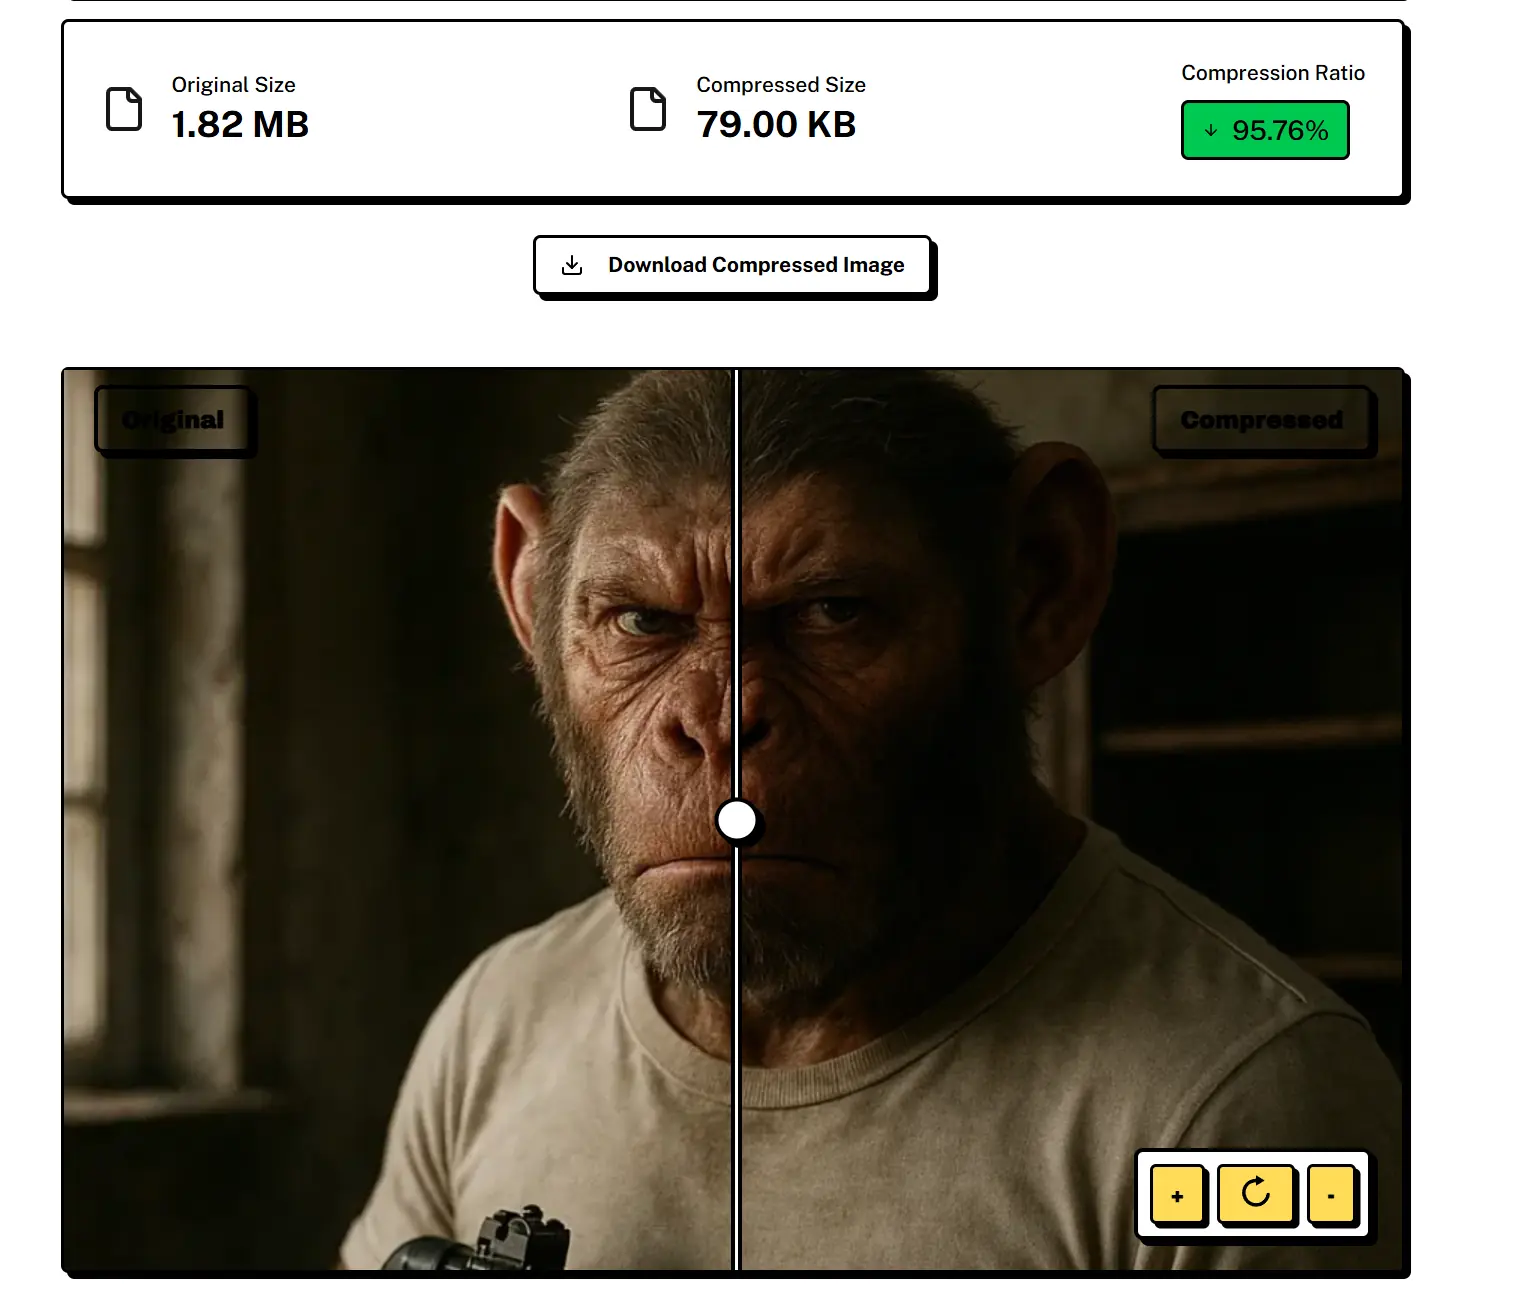
壓縮結果相當出色:一張原始大小為 1.76MB 的圖片可以縮減至僅 79KB,在幾乎不損失品質的情況下,達到 95.76% 的壓縮率。
重要注意事項
- 壓縮品質與檔案大小:較高的壓縮品質可以保留較佳的圖片品質,但會產生較大的檔案;反之亦然。應根據具體需求進行調整。
- 效能考量:在前端壓縮大型圖片或頻繁執行圖片處理,可能會消耗大量 CPU 資源,進而影響頁面效能。